christmas stockings are one of my favorite holiday decorations. maybe its the joy tied to the gifts that fill christmas stockings or the fact that they are just really big socks, who knows. since we are still a new-ish family (this is only our second married christmas after all), my husband and i don't have "lower family" christmas stockings.
i think that stockings are a must, plus, our mantle looked so bare last year without stockings, so i was determined to make family stockings for this (and future) christmases. one for my husband, one for sadie (post coming up!), and one for me!
i can pretty much credit pinterest for this diy because without it, i would have been completely lost!
first, i saw this picture and tutorial, by none other than martha stewart, of mittens from an old sweater.
then i saw this picture of handmade burlap stockings.
and i decided that i wanted to make handmade christmas stockings out of an old sweater! this was actually perfect because i had the perfect sweater dress that was in the "goodwill pile" after just having gone thru my closet.
while the basic shape of stockings is pretty straight-forward, i figured if i freehanded the pattern, it would more than likely end up being a disaster. so, i did what i usually do when i need to find something, i googled it (if my husband is reading this, pretend that i said "binged" it instead). and that is where i found this lovely
stocking pattern.
i originally cut it out with a 1/4 inch allowance (like the directions stated) and taped the four parts together. but, when i saw how ginormous of a stocking the pattern was for, i cut it down to the actual outline.
supplies:
two kinds of fabric - one for stocking & one for cuff
sewing machine & thread (i guess you could hand sew if you don't have a machine)
ribbon (optional - i used it to make ruffles on the cuff & for the hanger)
fabric scissors
pins
iron (optional - i used it to press the ruffles into the ribbon)
before i pinned the pattern onto the sweater dress, i cut up the side seams of the dress so that it would be easier to pin and cut the pattern four times (two per stocking). then, i pinned and cut out four stocking sides. (sidenote: i pinned and cut two stocking sides with the pattern right-side-up, and two sides with the pattern up-side-down. this way, both sides of the stockings were the "right" side of the sweater.)
after i had the stocking pieces cut, i started work on the cuff. i knew i wanted to put a cuff on these stockings, but it took so long for me to figure out what to do. and then i saw this picture pop up on pinterest!
{etsy via pinterest}
i wanted to copy those ruffles & luckily i had ribbon left over from my tree skirt project. i just had to figure out how to sew a ruffle into a ribbon. luckily it wasn't too bad!
to make the cuff, i used some leftover fabric - also from my tree skirt project - and cut out rectangles that i would fold in half to make the cuff. the fabric i used was pretty thin, so i used two layers and then folded them in half.
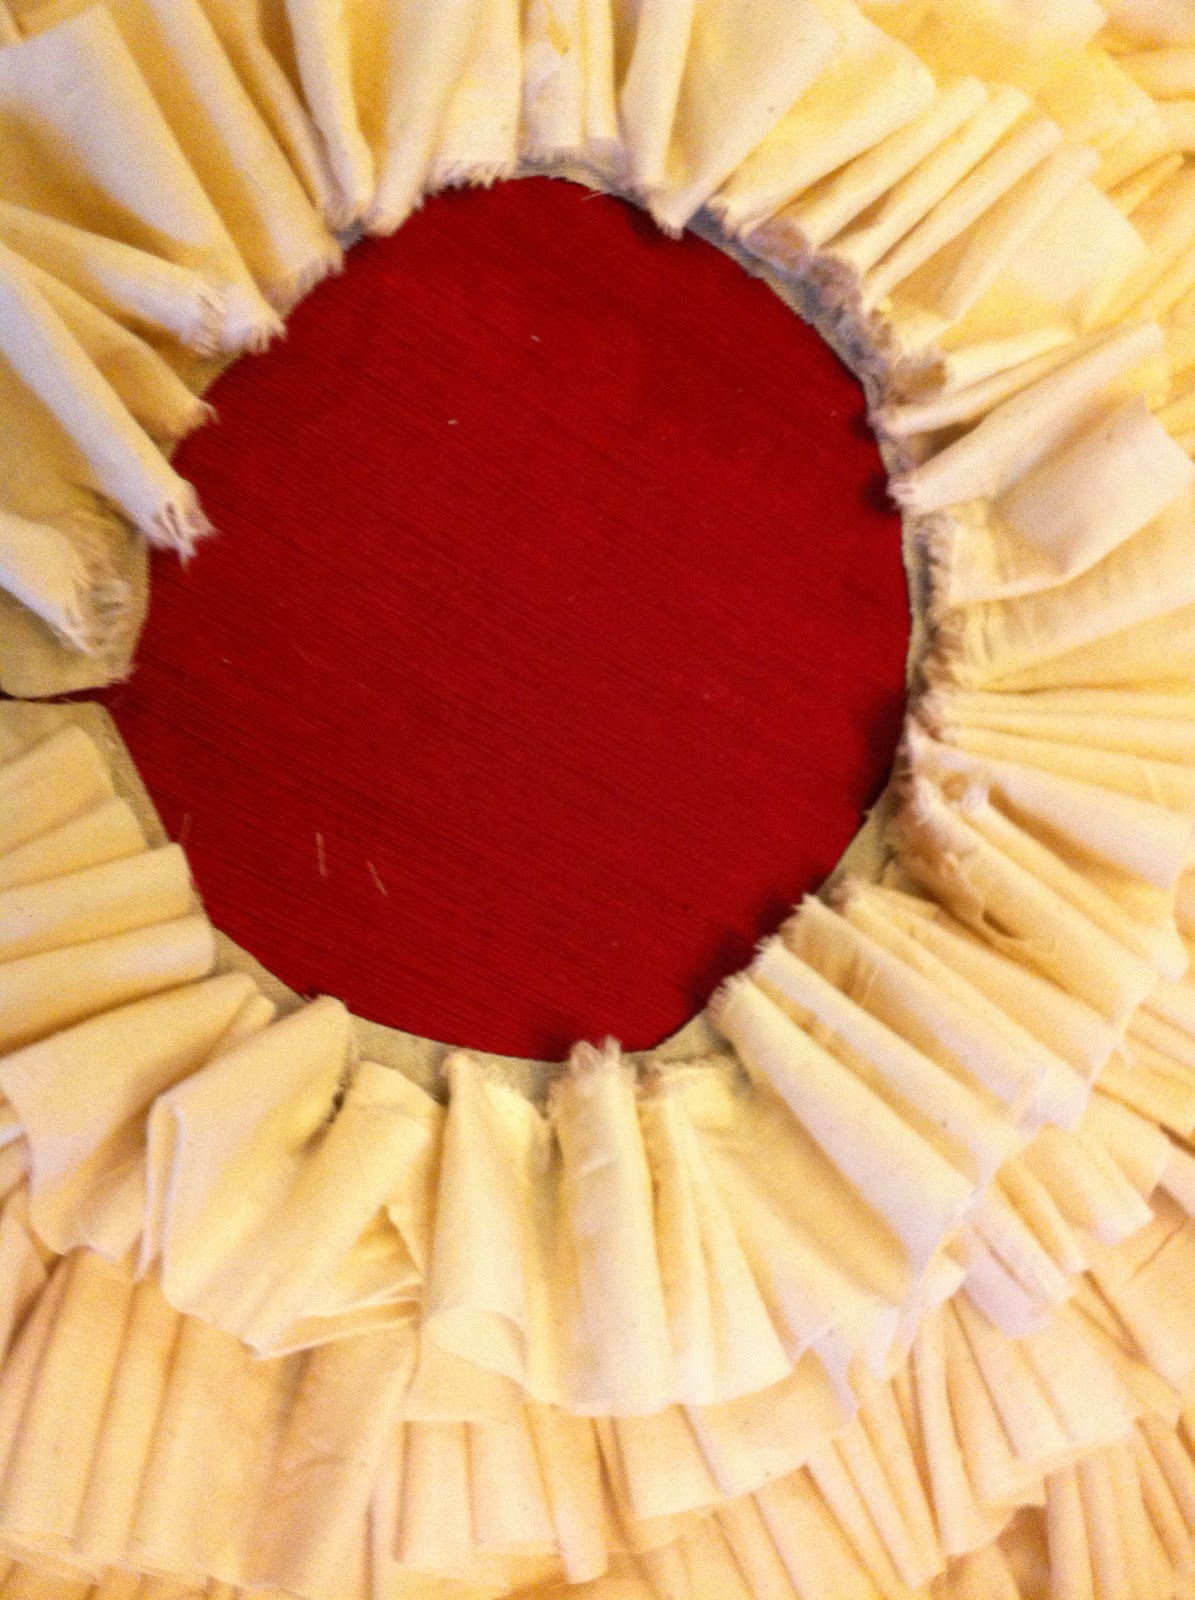
for the ribbon trim, i took the ribbon and just started to fold it into ruffles. then i ironed and pinned the folds.
once it came time to sew the ruffled ribbon onto the front side of the cuff (i had two rectangle pieces cut for the cuff - one for the front and one for the back) i just opened up the rectangle and sewed a straight line thru the middle of the ribbon with white thread.
i attached the cuffs by sewing the two pieces together - one for the front and one for the back. the way i designed my stockings - this is really not as classy as it sounds, i totally punted for most of this project - i lined up the raw edges of my cuff fabric and sweater fabric together with the front of the cuff facing the front of the stocking. then once i sewed them together, i flipped the cuff over & the ruffles were facing me. (i did the same with the back of the cuff and stocking, but it wasn't as big of a deal which way the cuff fabric was facing since it was plain on both sides.)
before i pinned the two sides of the stocking together, i decided to add a ribbon hanger. i didn't have time to go to joann or michael's (neither are close to my house, boo!) so i used some leftover ribbon from my christmas bunting project. it wasn't my first pick, but the green stripe is growing on me.
i cut the length of ribbon that i thought would be a good length to actually hang the stocking from the mantle, and placed it between the two sides of the stocking. it looked really crazy, but since i was going to eventually flip the stocking right-side out, the ribbon hanger was stuck in at a weird angle. i promise it works! then i pinned the two sides of the stocking together with the right-sides in.
so before you see the final stockings, i have to warn you that i haven't ever sewed anything but a straight line. the first circular seam that i ever sewed was on that first stocking, and i probably should have made a few practice stitches first. also, i am blaming the lumpy-ness on the fact that my chosen fabric - the sweater dress - was a bit slippery!
these stockings are far from perfect - the toes & heels are lumpy (i sort of fixed this by stuffing the stockings with tissue) and the cuffs are not perfectly matched. but, they are handmade & i LOVE them!
so festive, don't you think? the garland made it a little hard to hang them from the mantle, but i wasn't willing to lose one of them. also, we don't have stocking hangers yet (i say yet because i am hoping to score some on sale after christmas!) so i used some trusty 3M hangers that work for now.
what stockings do you have hung on your mantle (or stair handrail or foot of bed) - bought or handmade? old or new?
M
*sorry the pictures in this post are facing all different directions!